Okay, here we go! Here’s how my little “party food book” project went down.
Alright folks, so I had this crazy idea. I was throwing a party, right? And I’m always scrambling for food ideas. Pinterest is cool and all, but I wanted something…tangible. Something I could spill wine on without crying. Thus, the “party food book” was born.
Phase 1: Brain Dump & Recipe Gathering
First, I just started writing down every single party food idea that popped into my head. Seriously, EVERYTHING. Dips, appetizers, desserts…anything remotely edible that felt “party-ish.” Then, I dug through my old cookbooks, my mom’s recipe box (classic!), and yes, even a little bit of online searching (but mostly stuff I already knew I liked). I copied all the recipes into a Word doc – messy as heck, but it was a start.
Phase 2: The Great Recipe Cull
Okay, so I had like, 80 recipes. Ain’t nobody got time for that! This was the brutal part. I started categorizing them (dips, snacks, sweets, etc.) and then ruthlessly eliminated anything that was too complicated, used weird ingredients I’d never buy, or just didn’t excite me. I ended up with about 25-30 recipes – much more manageable.

Phase 3: Testing, Tasting (and Sometimes Failing)
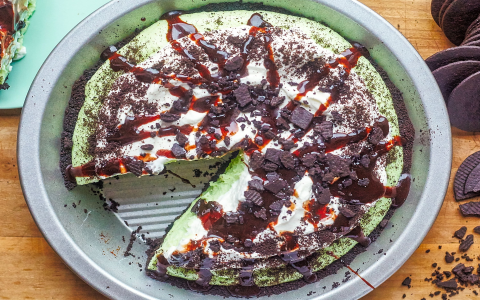
This was the fun (and messy!) part. I decided to actually MAKE some of these recipes. Some were old favorites I knew would work. Others were complete experiments. Let’s just say there were a few “learning experiences.” One dip was way too salty, another was just…bland. I tweaked the recipes as I went, making notes on what worked and what didn’t. Note to self: always taste before adding a whole teaspoon of salt!
Phase 4: Book Design (aka Making it Look Pretty-ish)
I am NOT a graphic designer, let me tell you. But I wanted this book to look at least semi-decent. I used Canva (thank you, Canva!) to create a simple layout. Each recipe got its own page, with a title, ingredient list, instructions, and a little space for notes. I added some basic photos (mostly taken with my phone – sorry, not sorry). Nothing fancy, but it was functional.
Phase 5: Printing & Binding (the DIY Nightmare)

I decided to print the book at home. Big mistake? Maybe. My printer kept jamming, the ink was running low, and the paper I chose was too thin. But I persevered! Once everything was printed, I punched holes and used a simple ring binder to hold it all together. It’s definitely not professional quality, but it’s got character, dammit!
Phase 6: The Big Party Reveal
Finally, the party! I put my little food book on the counter for everyone to browse. It was a hit! People were flipping through it, suggesting dishes, and even writing their own notes and modifications. It was exactly what I wanted – a collaborative, slightly messy, and totally delicious party food resource.
Lessons Learned:
- Keep it simple! Don’t try to be a gourmet chef when all you need is some good snacks.
- Test your recipes beforehand. Trust me on this one.
- Don’t be afraid to experiment. Some of the best dishes are happy accidents.
- And most importantly, have fun! It’s a party, after all!
So, there you have it. My “party food book” adventure. It was a lot of work, but totally worth it. Now, if you’ll excuse me, I’m going to go make some dip.