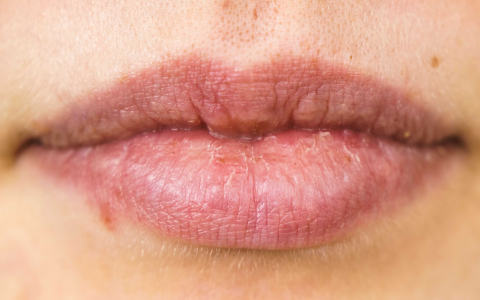
You know, it’s funny how you can be really careful about one aspect of your life, like eating gluten-free, and then completely overlook another. For me, that blind spot was, believe it or not, lip balm. My lips were just constantly dry, and I’d try product after product. Some worked for a bit, others not at all, and a few even seemed to make things worse. It took me a while to connect the dots.

I’d been so focused on food labels for years, but then I started wondering about what I was putting directly onto my mouth multiple times a day. It turns out, finding genuinely gluten-free lip balm isn’t always straightforward. You see all sorts of derivatives, things like tocopherol (Vitamin E) that can be derived from wheat, or oat-based ingredients. It became a bit of a mission, and honestly, a bit of a pain, trying to decipher tiny ingredient lists.
My Turning Point
After one too many purchases that ended up irritating my lips or just feeling… off, I had a thought. Why not just make it myself? I mean, how complicated could it really be? I figured at least I’d know exactly what was going into it. No more guessing games, no more squinting at labels in the pharmacy aisle.
So, I decided to give it a shot. I did a bit of digging online, looking for simple recipes that didn’t require a ton of obscure ingredients. I wanted something basic, nourishing, and, of course, completely gluten-free from the ground up.
Gathering the Goods
It turned out to be simpler than I thought to get what I needed. Here’s what I ended up using for my first batch:
- Beeswax pellets: These are great for giving the balm some solidity. I made sure to get cosmetic grade.
- Shea butter: Super moisturizing. I went for unrefined.
- Coconut oil: Another classic for hydration.
- A few drops of Vitamin E oil (from a gluten-free source, of course!): For a bit of extra nourishment and to help preserve it. I specifically looked for one derived from sunflower or soy.
- Optional: A few drops of peppermint essential oil: Just for a nice scent and a bit of a tingle. Make sure it’s skin-safe!
I also grabbed some empty lip balm tubes and a small glass measuring cup that I could dedicate to these kinds of projects.
The Making Process – Surprisingly Easy!
Alright, so here’s how I actually did it. It was way less intimidating than I initially imagined.
First, I got my makeshift double boiler ready. I just put a small saucepan with a bit of water on the stove and then placed my glass measuring cup inside it. You don’t want the water to touch the bottom of the cup, just create steam.
Then, I measured out my main ingredients. I went with roughly:
- 1 part beeswax pellets
- 1 part shea butter
- 1 part coconut oil
I didn’t get super precise, more like “eyeballing it” for a small batch. I figured I could always adjust next time. I popped the beeswax in the glass cup first, as it takes the longest to melt. Once it was mostly liquid, I added the shea butter and coconut oil. I stirred it gently with a wooden skewer until everything was completely melted and combined. It looked like a nice, clear golden liquid.
I then took it off the heat carefully. This is when I added a few drops of the Vitamin E oil and the peppermint essential oil. Stirred it up one last time.
The next bit requires a steady hand! I carefully poured the hot liquid into my empty lip balm tubes. I had a few ready to go. It’s best to do this fairly quickly as the mixture starts to set up once it cools.
And then… I just let them sit. I left them on the counter for a few hours to cool down completely and solidify. No fridge needed, though I suppose you could if you were in a hurry.
The Result? Success!
I have to say, I was pretty chuffed with myself. The lip balms firmed up perfectly. The texture was smooth, not too waxy, not too greasy. And the best part? My lips loved it. No irritation, just soft, moisturized lips. Plus, there’s a certain satisfaction in using something you made yourself, knowing every single ingredient that went into it.
It’s definitely something I’ll be doing again. It was quick, relatively inexpensive once I had the base ingredients (which will last for many batches), and I can tweak the recipe if I want to try different oils or butters in the future. So, if you’ve been struggling to find a lip balm that works for you, especially if you have sensitivities like gluten, maybe give making your own a go. It was a surprisingly simple solution for me!