Okay, so let’s talk about making gravy. Not the fancy stuff, just good, quick, easy gravy like you need right after you’ve pulled a roast out of the oven. I do this all the time, it’s almost automatic now.

Getting Started with the Pan Drippings
First thing, after I take my roast chicken or whatever out of the pan, I look at what’s left inside. You usually get some fat and those tasty brown bits stuck to the bottom. That’s the gold right there. I pour off most of the clear fat, leaving maybe a couple of tablespoons in the pan along with all those brown bits. If there’s not much fat, sometimes I’ll add a small knob of butter.
Then, I put the roasting pan right onto the stove top. Sometimes across two burners if it’s a big pan. Turn the heat on, maybe medium.
Making the Thickener Base
Next, I grab some regular all-purpose flour. Nothing special. I just sprinkle it right into the warm fat and drippings. How much? Eyeball it. Maybe two or three tablespoons to start. You can always adjust later.
Immediately, I start whisking it into the fat. Keep whisking! You want to make a sort of paste, a roux I guess they call it. Let it bubble gently for a minute or two. Important: You gotta cook that flour taste out. Don’t rush this bit, but don’t burn it either. Keep it moving.
Adding Liquid and Whisking Away Lumps
Now for the liquid. I usually use chicken or beef broth, whatever matches the meat I cooked. Sometimes just hot water works if I’m out of broth. The trick is to add it slowly at first. Pour in maybe half a cup, and whisk like crazy. Scrape the bottom of the pan to get all those tasty brown bits mixed in. This helps break up any flour clumps.
Once that first bit is smooth, I gradually whisk in more liquid. I keep adding and whisking until it looks like the amount of gravy I want. Keep the heat on medium, letting it come up to a gentle bubble.
Simmering and Seasoning
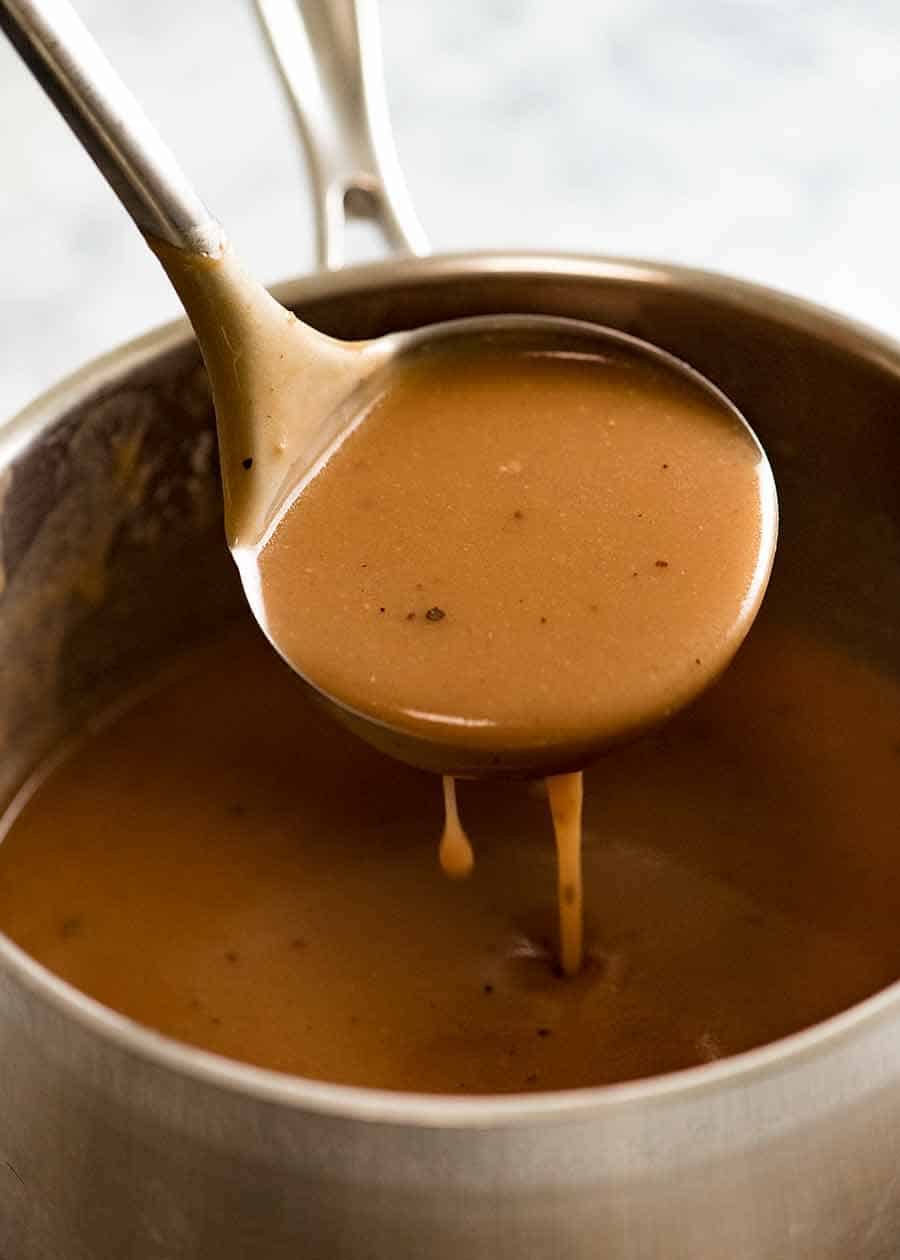
Let it simmer away for a few minutes. Keep stirring or whisking often. This is when it thickens up. If it gets too thick, just whisk in a splash more broth or water. If it seems too thin, let it bubble a bit longer.
Now, the taste test. Pan drippings are usually salty, so taste before adding salt! I add fresh cracked black pepper pretty much always. Then taste again. Need more salt? Add a pinch. Sometimes I add a splash of Worcestershire sauce or soy sauce for a bit more depth. Depends on my mood. Keep tasting and adjusting until you like it. It’s your gravy, after all.
All Done!
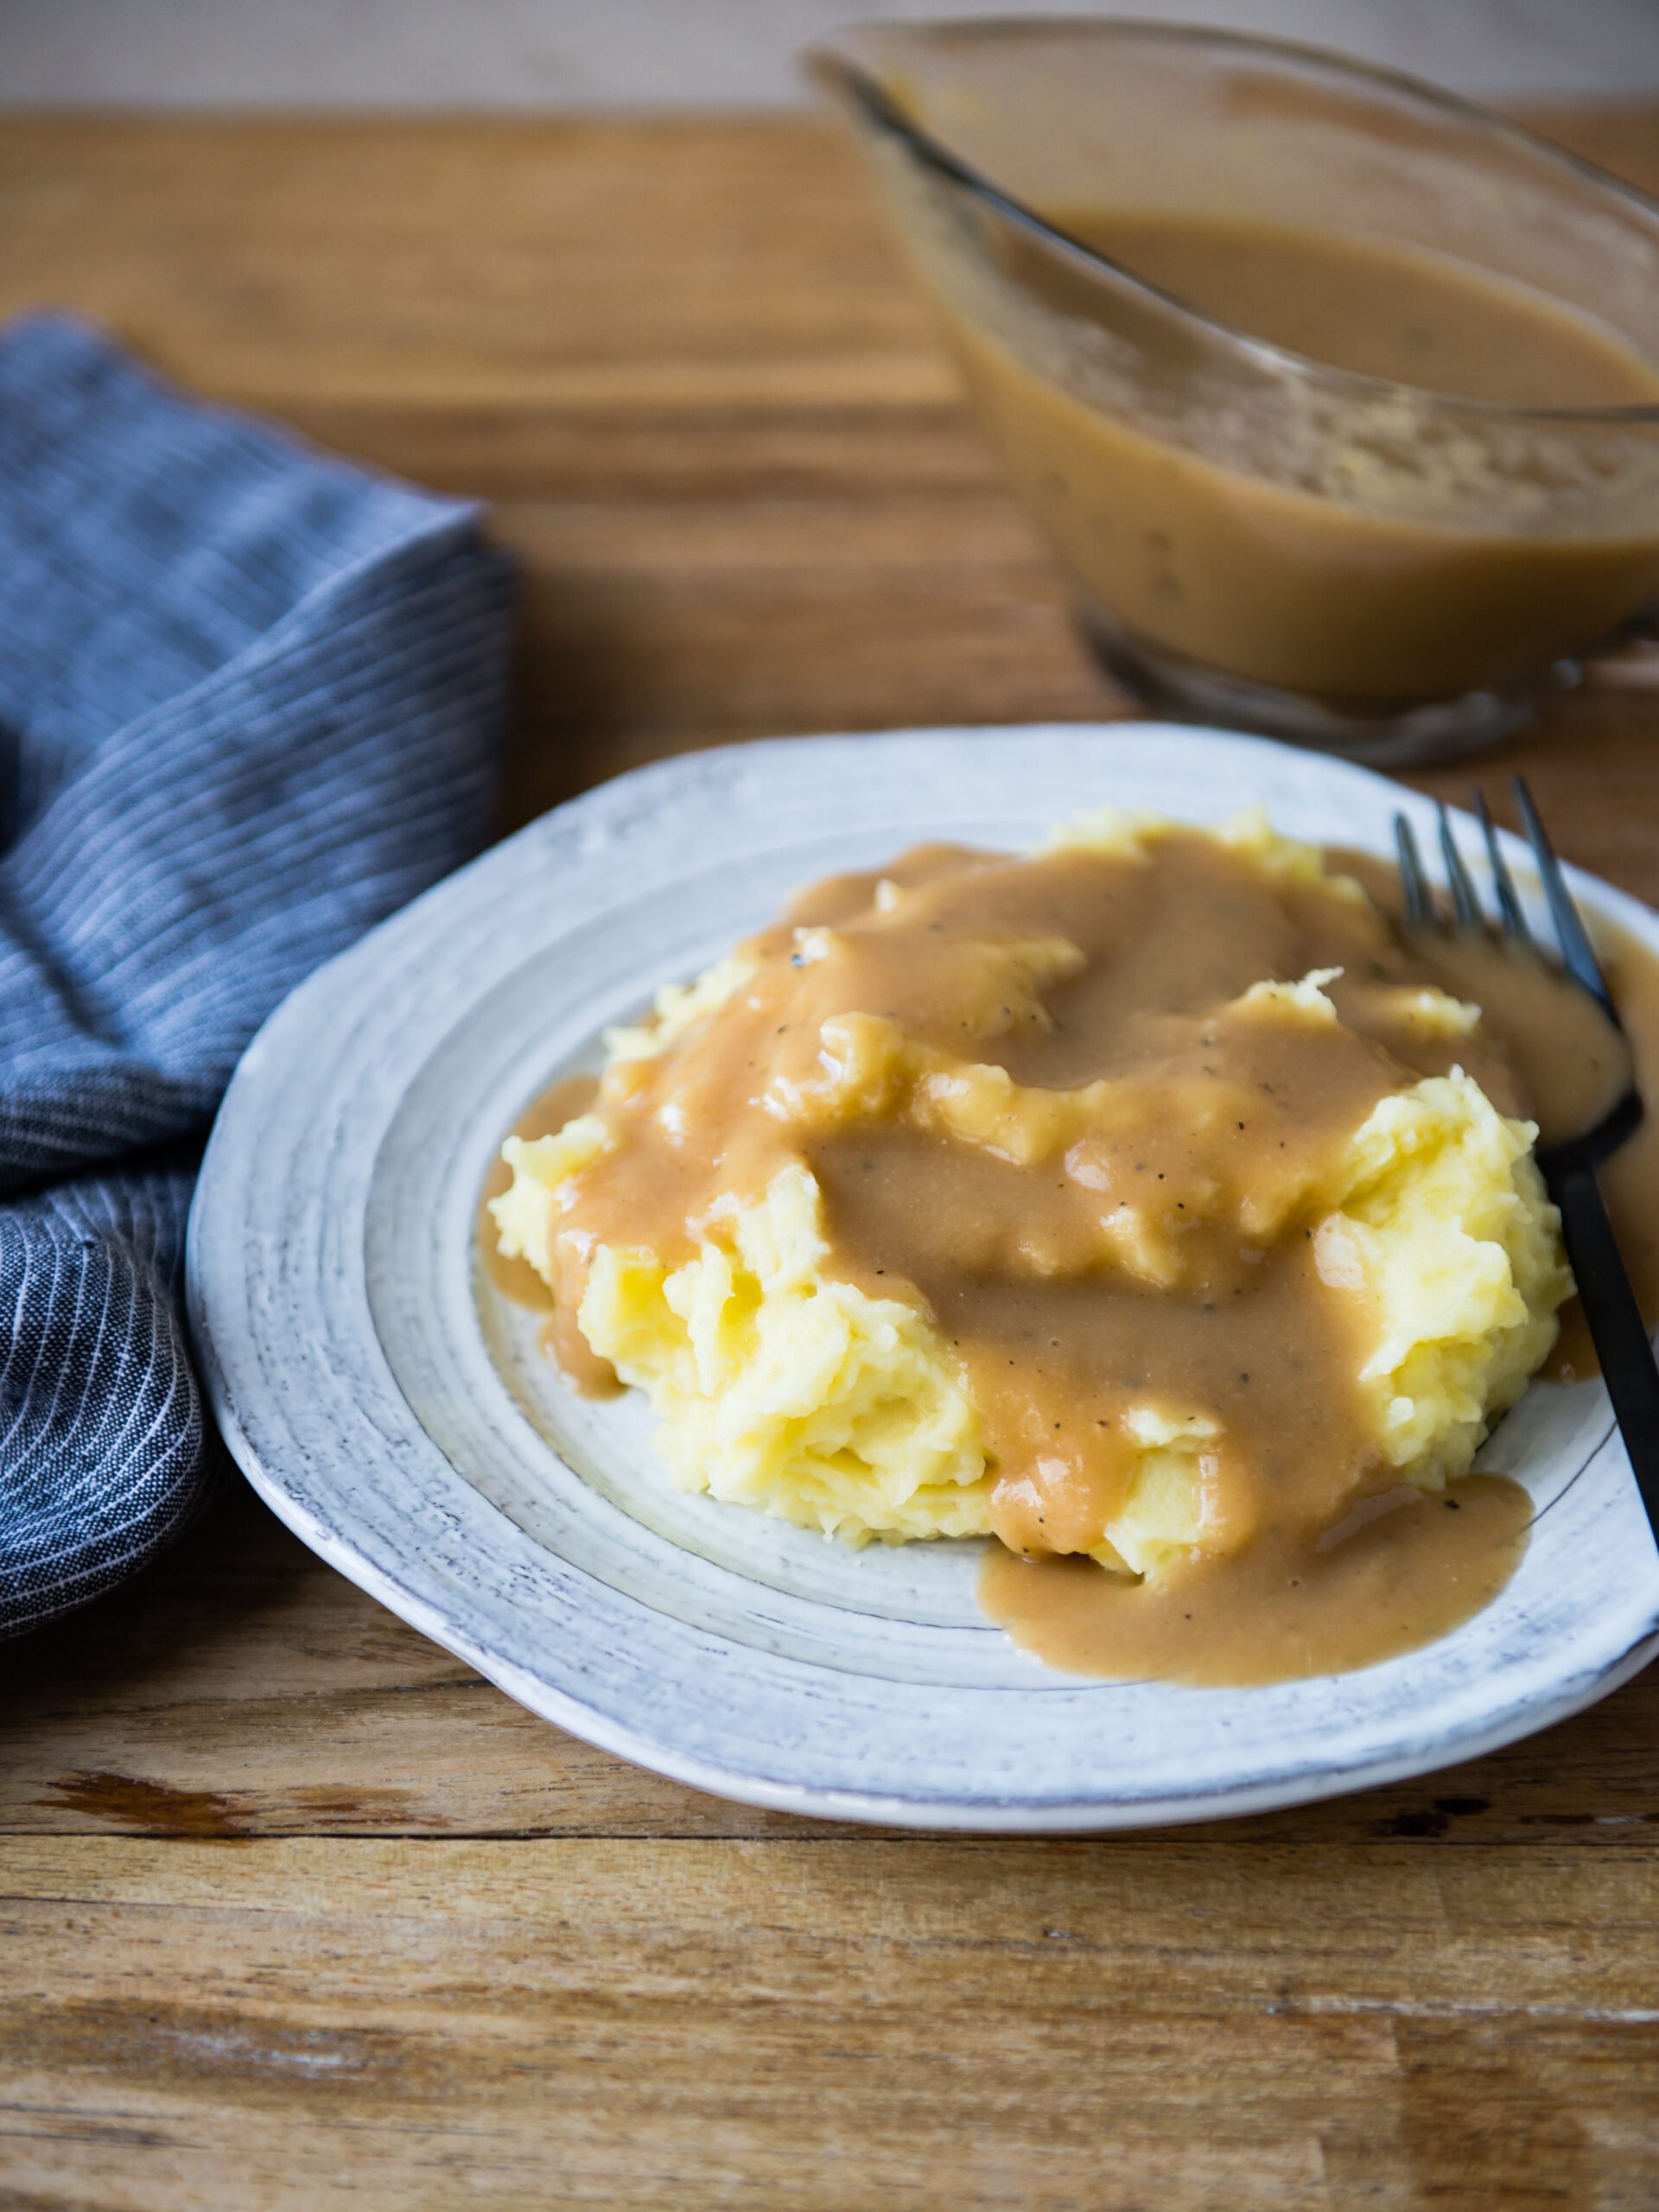
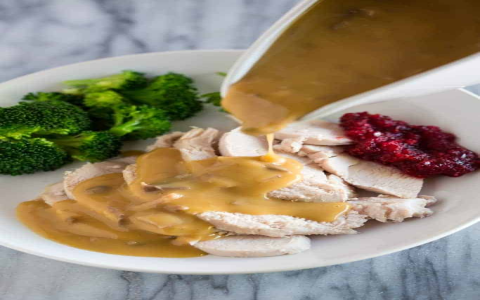
Once it’s thick enough and tastes right, I just turn off the heat. Pour it into a gravy boat, or heck, sometimes just a measuring cup or a bowl if I’m not being fancy. That’s it. Hot, homemade gravy, ready to go. No packets, no stress. Just takes a few minutes using what you already have from the roast.
Works for me every time. Easy peasy.