So, there I was, with a bit more time on my hands than usual. You know how it is, sometimes life throws you a curveball, or maybe just a slow pitch, and you find yourself wondering what to do with the extra innings. I wasn’t looking to start a global empire or anything, just wanted something to keep my hands busy and maybe, just maybe, make a few quid on the side without too much fuss.
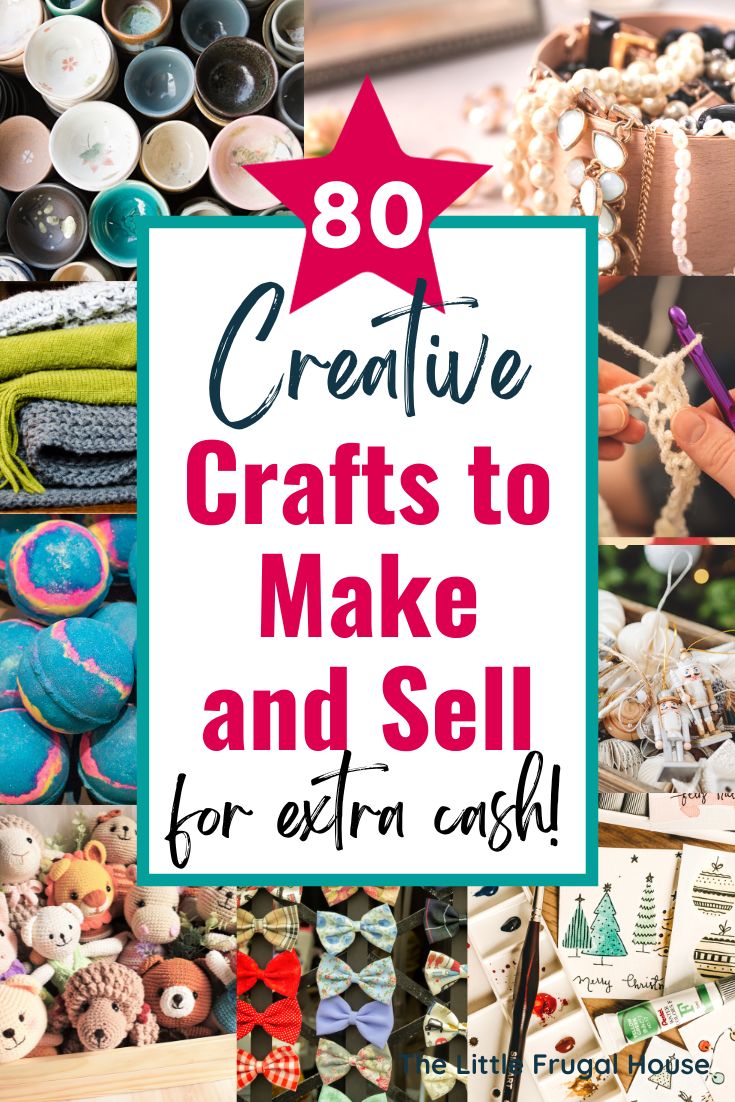
Finding My Crafty Niche
I’ve always liked making things, but some crafts, let’s be honest, they take forever and cost a fortune in supplies. I needed stuff that was, well, quick and easy. And importantly, stuff that other folks might actually want to buy without me needing a fancy art degree. I started looking around, really just browsing online and remembering things I’d seen at little local fairs.
My criteria were simple:
- Cheap to start: Didn’t want to invest a load of cash upfront.
- Quick to make: I’m not the most patient person when I want to see results!
- Something a bit different: Or at least, with my own little twist.
First Up: Fancy Rocks! (Well, Painted Pebbles)
Sounds daft, I know. But hear me out. I live near a place with loads of smooth pebbles. Free materials, tick! I remembered seeing these cute painted ladybug rocks and motivational quote stones. So, I grabbed a handful of pebbles – washed them good and proper, of course. Then, I dug out some old acrylic paints I had from when the kids were younger. If you don’t have any, those little craft paint pots are dead cheap.
The process was pretty straightforward:
- Wash and dry your rocks. Seriously, don’t skip this, paint won’t stick to mucky stones.
- Paint a base coat if you want, or just go straight on with your design. I started with simple stuff: spots, stripes, little flowers. Nothing too complicated.
- Let it dry. Then add details. A fine-tipped permanent marker can be your best friend here for outlines or tiny words.
- A coat of clear varnish or sealant. This is important if they’re going outside or will be handled a lot. I used a spray-on kind, super easy.
Honestly, it was quite relaxing. Just sitting there, dabbing paint. And they looked pretty neat! I made a batch of ladybugs, some bumblebees, and a few with simple words like “Hope” or “Smile.”

Next Adventure: Beaded Bits and Bobs
After the rock success, I felt a bit more ambitious. I thought about jewelry. Now, proper silversmithing is way out of my league, but simple beaded stuff? That seemed doable. I ordered a basic jewelry-making kit online – you know, the ones with a few pliers, some wire, and clasps – and a mixed bag of colourful beads. Didn’t cost much.
My first try was stretch bracelets:
- Get some elasticated cord.
- Thread on your beads. This is the fun bit, picking colours and patterns.
- Tie a really, really secure knot. A surgeon’s knot is good. Maybe a dab of superglue on the knot for luck, tucked inside a bead.
They took minutes to make! Then I tried simple earrings: just a bead or two on a headpin, make a loop at the top, and attach to an earring hook. Again, quick, and you can make loads of different styles just by changing the beads. People always need little gifts, right?
Okay, So How Did The “Selling” Part Go?
This is where it gets interesting. I wasn’t about to rent a shop or anything. I started small. I took some of my painted rocks and a few bracelets to a little village fete. Just had a small table, nothing fancy. Put little price tags on them – not too much, remember the “quick and easy” materials cost me hardly anything.
And you know what? People bought them! Especially the kids, they loved the ladybug rocks. And a few folks picked up the bracelets as little “treat myself” items or small gifts. It wasn’t a fortune, but it was a real buzz. It covered my costs and gave me a bit of pocket money. Plus, it was nice chatting to people.
I also showed some bits to friends and colleagues. Someone at my partner’s work bought a few sets of earrings for presents. Word of mouth, you know?
What I Reckon I Learned
Keep it simple, stupid! That old saying is true. The things that sold best were the straightforward, cheerful items. Don’t overcomplicate it.
Cost your materials, but don’t be greedy. People are happy to pay a bit for handmade, but they know a painted rock isn’t a diamond ring.
Presentation helps. Even just putting earrings on a little bit of card, or tying a ribbon around a set of coasters (oh yeah, I tried those too, with cheap tiles and some Sharpies!) makes a difference.
It’s not just about the money. Honestly, the satisfaction of making something with my own hands and someone else liking it enough to buy it? That was the best bit. It’s a nice little hobby that doesn’t break the bank and can actually give you a little return.

So, if you’re looking for something, give it a go. Start small, see what you enjoy making, and you might surprise yourself!