Alright, so I decided to tackle a gluten-free vanilla cake using almond flour today. You know how it is, sometimes you just get a craving, and finding a good gluten-free cake that doesn’t taste like cardboard can be a real mission. I’ve been messing around with almond flour for a while now, and I think I’m finally getting the hang of it for cakes.
Getting Started with This Almond Flour Business
First things first, I gathered all my bits and pieces. I always find it’s better to have everything out. For this one, it was obviously the almond flour – the finely ground stuff, not almond meal, that’s important. Then your usual suspects: eggs, some kind of sweetener (I used maple syrup this time, but sugar works), vanilla extract (good quality, makes a difference!), a bit of baking powder for lift, a pinch of salt, and some fat – I went with melted coconut oil.
I remember my first few attempts at gluten-free baking years ago were, well, let’s just say they were learning experiences. Dense, crumbly, the works. But almond flour, when you treat it right, it’s pretty forgiving and gives a nice moist crumb.
Mixing It All Up
So, I started by whisking the dry ingredients together in a bowl. That’s the almond flour, baking powder, and salt. Just a quick whisk to get rid of any lumps in the almond flour and make sure everything’s distributed. Easy peasy.
In another bowl, I cracked in the eggs. Gave them a good beating until they were a bit frothy. Then, in went the maple syrup, the melted coconut oil, and a generous splash of vanilla. I mixed that all up until it was well combined. The kitchen already started to smell pretty good at this point, mostly from the vanilla.
Then, the main event: I poured the wet ingredients into the dry ingredients. I used a spatula for this part, gently folding everything together. The key here is not to overmix. With almond flour, you don’t have to worry about developing gluten, which is great, but you still want a tender cake. So, just mix until it’s all combined and you don’t see any dry streaks of flour. The batter will look a bit different than a regular wheat flour batter, maybe a bit thicker or grainier, but that’s totally normal.
Baking and the Waiting Game
I had my oven preheating already – moderate temperature, around 350°F (or 175°C for those of you on that system). I greased and lined a round cake pan. I just used parchment paper for the bottom, makes life so much easier when it’s time to get the cake out. Poured the batter into the pan, spread it out evenly.
Then into the oven it went. Now, this is where patience comes in. I set my timer for about 30 minutes, but I always start checking a bit earlier. Ovens are funny things, each one has its own personality. I knew it was done when the top was nicely golden brown, and a skewer inserted into the center came out clean. That’s the classic test, right? And it works.
The Big Reveal and the Taste Test
Once it was out of the oven, I let it cool in the pan for about 10-15 minutes. This is important; try to rush it and you might end up with a broken cake. After that, I carefully inverted it onto a wire rack to cool completely. The smell in the kitchen was fantastic by now – warm, sweet, vanilla-y.
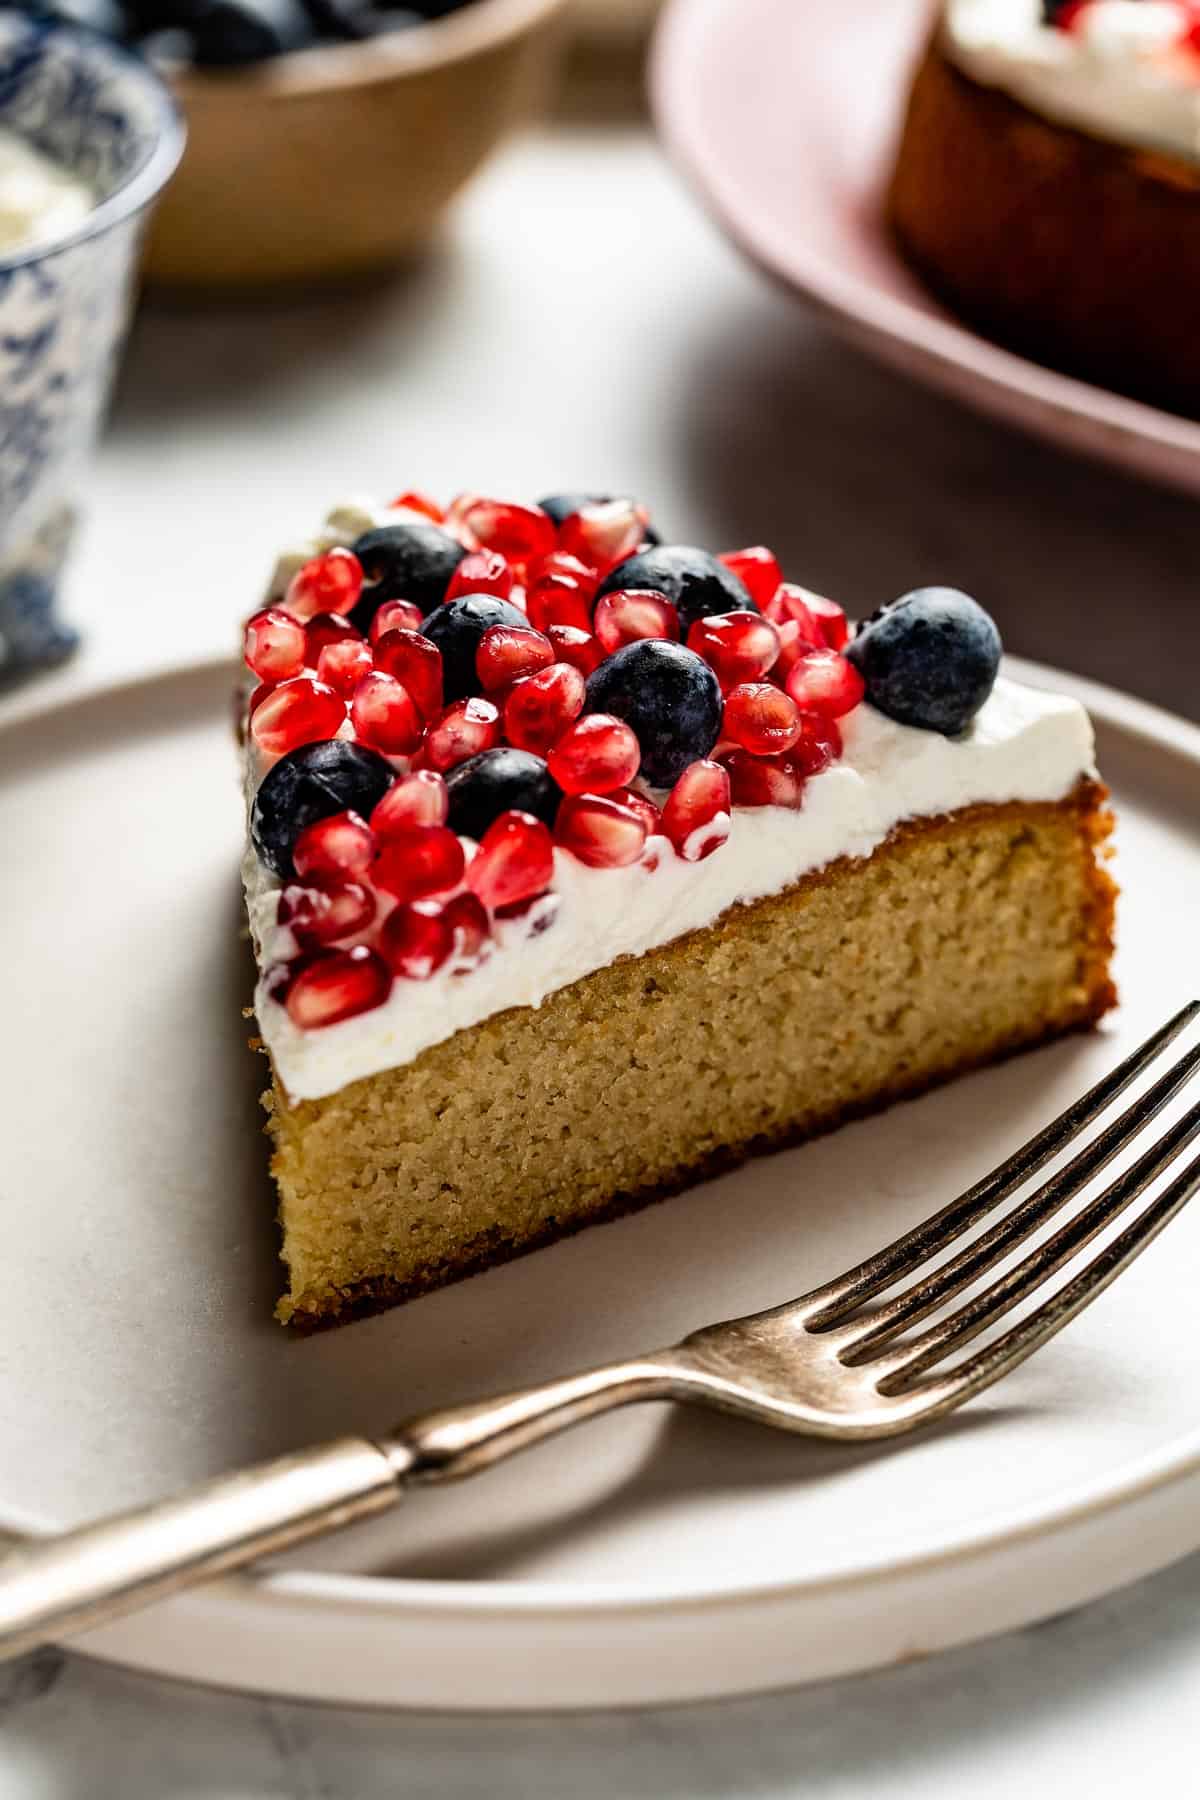
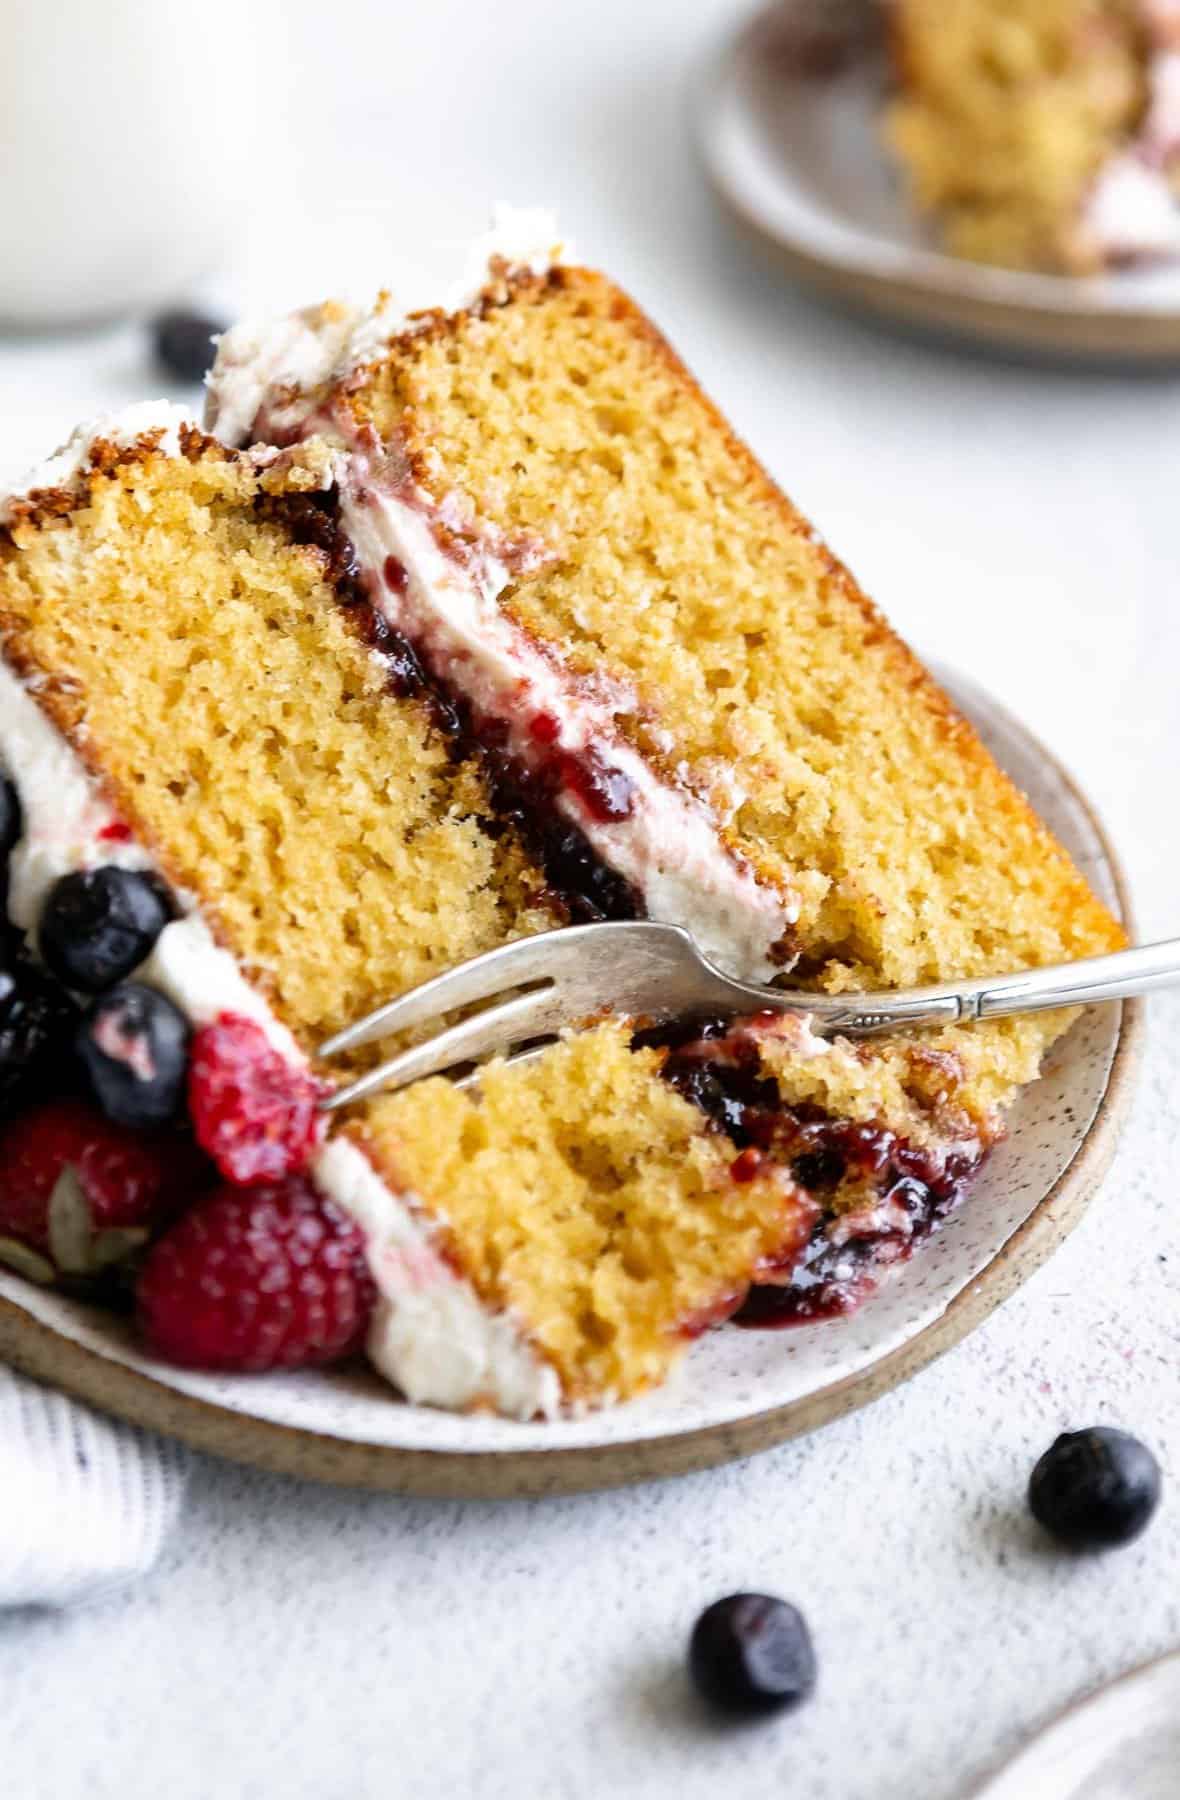
And the taste? Success! It was moist, had a lovely tender crumb, and a really nice, subtle almond flavor that complemented the vanilla perfectly. It wasn’t overly sweet, which I prefer. For a simple, gluten-free vanilla cake, this almond flour version really hit the spot. My family Hoovered it up pretty quick, which is always the best sign.
So yeah, that was my baking adventure for the day. Definitely worth the effort, and a good reminder that gluten-free doesn’t have to mean taste-free. This one’s a keeper in my book.

- Almond flour is your friend for moisture.
- Don’t skimp on good vanilla.
- Patience during cooling is key!