Okay folks, today’s kitchen adventure landed me squarely in gluten-free territory – specifically, biscuits! My kid can’t do gluten, and that sad look when everyone else digs into warm, buttery biscuits? Nope, not happening. I’ve tested a bunch of recipes, wasting way too many expensive gluten-free flours, until I finally landed on a method that actually works and tastes good. Here’s exactly what I did, mess included.

The Gear & The Goods
First things first, I gathered my stuff because scrambling mid-dough is the worst. Here’s what went on the counter:
- Flours: Scooped out 1 cup of my favorite GF all-purpose blend (the one with xanthan gum already in it!), then eyeballed another ¼ cup for dusting later.
- Fat: Grabbed 6 tablespoons of frozen butter. Cold butter equals flaky layers? That’s the gospel.
- Wet Stuff: Measured out ¾ cup of buttermilk, plopped in 1 large egg, and swirled it together.
- Leaveners & Salt: Spooned 1 tablespoon baking powder, ½ teaspoon baking soda, and ½ teaspoon salt right into the flour bin.
- Extras: Figured why not? Tossed in 1 teaspoon of dried chives and a good crack of black pepper. Savory all the way.
Getting My Hands Dirty (Fast!)
Speed is key here. GF dough gets weirdly sticky fast. I dumped my flour mix, baking powder, baking soda, and salt into the big bowl. Took a fork and swirled it around to get everything friendly. Then, the fun part: grated that rock-hard frozen butter straight into the flour bowl using the big holes on my box grater. Seriously, frozen, not just cold. Like, hold it with a paper towel so your fingers don’t stick.
Now, fingers only! Poked and smooshed the butter shreds into the flour real quick. Didn’t mash it into paste! You want little pea-sized lumps – those melt into flaky pockets later. Once it looked sandy with little butter bits, I made a well in the middle. Poured the buttermilk-egg mixture right in. Sprinkled in my chives and pepper. Then, I used the fork again to stir it just until it barely came together into a shaggy, sticky mess. Stopped immediately. No overmixing – that’s gluten-free brick territory.
Dumped the whole sticky blob onto my dusted counter (that’s what the extra ¼ cup GF flour was for!). Dusted the top too. Then, I folded it over itself gently with my hands, maybe 5 or 6 times tops. Just enough to pat it into a workable disc about ¾ inch thick. Grabbed my biscuit cutter (a floured drinking glass works too!) and stamped out as many rounds as I could without twisting – straight down, straight up. Twisting seals the edges, bad for rise. Re-kneaded the scraps once, gently, and cut more.
Into the Oven Fire
Slapped those cut biscuits onto a baking sheet I prepped with parchment paper. Crowded them together a little, sides touching. Helps them puff upwards instead of spreading out like sad pancakes. Brushed the tops with a splash of extra buttermilk for that golden brown. Whacked the oven to 425°F beforehand – gotta be hot!
Slammed the baking sheet on the middle rack and set the timer for 15 minutes. Didn’t peek for at least 10! When the timer dinged, I poked my head in. Golden brown tops? Yep. Sounded hollow-ish when tapped underneath? Perfect. Pulled them out right then. Overbaking is the enemy of tender GF biscuits.
The “Mama Knows” Payoff
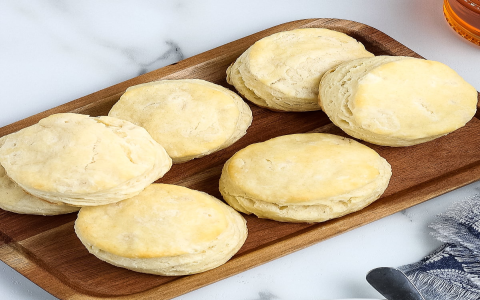
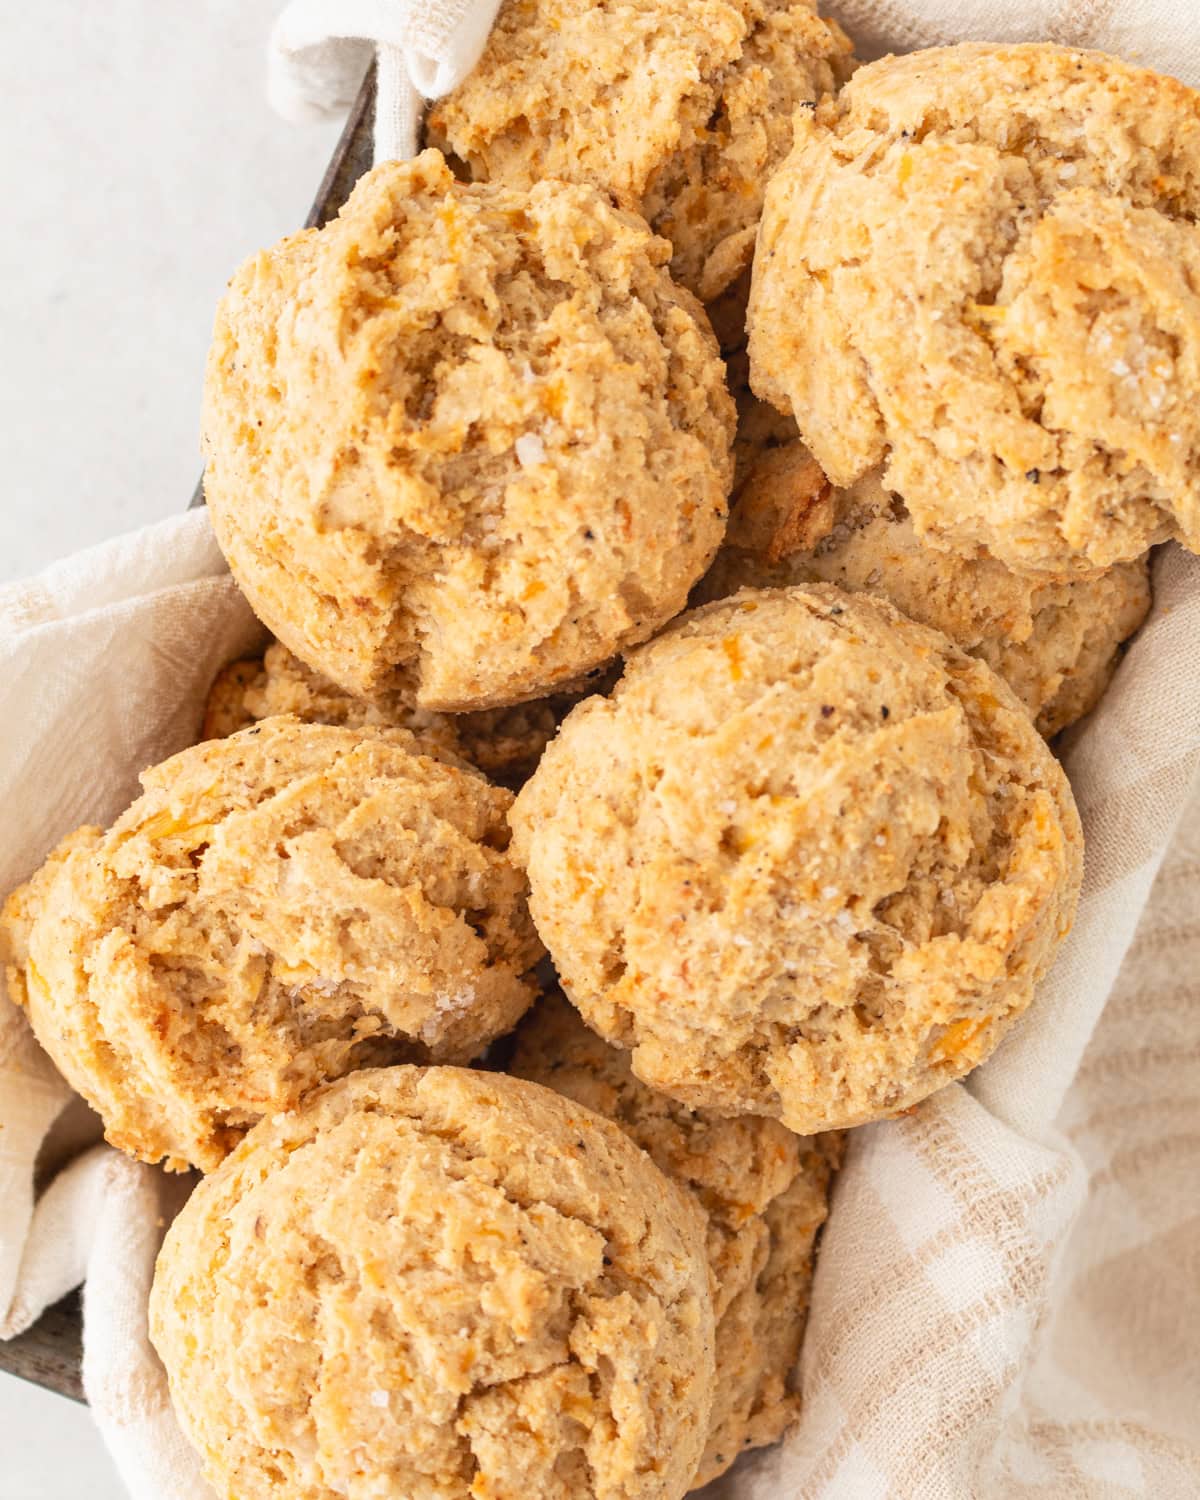
Let ’em cool on the pan for just a minute or two, but honestly, we dug in almost immediately. Cracked one open: steam poured out! They were surprisingly light inside, not dense at all, with visible flaky layers – a miracle in gluten-free baking! That butter flavor came through, nice and savory from the chives and pepper. My kid took one bite, went quiet, then just held it up nodding with a huge grin. Didn’t say a word, just kept eating. High praise!
Big takeaway? Frozen butter grating saves time and gives flakiness. Working fast with minimal mixing is absolutely critical. And baking them hot and fast with sides touching keeps them tender and tall. Took a bunch of fails, but this method? Definitely sticking with it.