Okay, so I decided to tackle gluten-free bread again. You know how it is, sometimes you just crave a good slice of bread, and finding a decent store-bought gluten-free one can be a real mission, not to mention pricey. So, I figured, why not try making my own quick and easy version?

Gathering the Goods
First things first, I got all my ingredients out. It’s always better to have everything ready, less panic later. I grabbed my favorite gluten-free all-purpose flour blend – the one with xanthan gum already in it, saves a step. Then I needed:
- Some sugar, just a little bit for the yeast.
- Yeast, of course. The active dry kind.
- A couple of eggs.
- Some oil – I just used a light olive oil I had.
- A bit of apple cider vinegar. Sounds weird, I know, but it helps with the texture.
- Salt, can’t forget salt.
- And warm water. Not too hot, or you’ll kill the yeast, learned that the hard way once!
Mixing It All Up
Alright, so I started by waking up the yeast. I put the warm water in a bowl, stirred in the sugar, and then sprinkled the yeast on top. Left it for about 5-10 minutes until it got all foamy. That’s how you know it’s good to go. While that was doing its thing, I whisked together the gluten-free flour and salt in my big mixing bowl.
Once the yeast was bubbly, I made a well in the center of the flour mixture. Poured in the yeast mixture, then added the eggs (I gave them a quick whisk beforehand), the oil, and the apple cider vinegar. Then, I just started mixing. I used my stand mixer with the paddle attachment because, let’s be honest, gluten-free dough can be a sticky mess. You could do it by hand with a sturdy spoon, but be prepared for an arm workout.
I mixed it on a low speed at first, then cranked it up to medium for a few minutes, maybe 3 to 5. The “dough” – it’s more like a thick batter, really – looked pretty smooth. It’s super important not to expect it to look or feel like regular wheat dough. It’s way stickier and doesn’t have that elasticity. Don’t be tempted to add loads more flour!
The (Not So Long) Wait and Bake
Next, I greased a loaf pan. I just used some butter, made sure to get all the corners. Then I scraped the batter into the pan. It’s sticky, so a spatula is your best friend here. I smoothed the top a bit with a wet spatula – that helps prevent it from cracking too much while baking, or so I’ve found.

Now, for the “quick” part. Some recipes have you proofing it for ages. For this one, I just covered the pan loosely with plastic wrap and let it sit in a warmish spot for about 30 minutes. My kitchen is usually pretty warm. It doesn’t double like wheat bread, but it puffed up a little.
While it was resting, I preheated my oven. About 375°F (that’s around 190°C). Once the oven was hot and the dough had its little rest, I popped it in. I set my timer for 30 minutes to start.
After 30 minutes, I checked it. It was starting to get golden. I gave it another 10-15 minutes, until it was nicely browned on top and sounded hollow when I tapped it. The internal temperature should be around 200-210°F (93-99°C) if you’ve got a thermometer – I usually just eyeball it and go by sound.
The Delicious Result
I pulled it out of the oven, and the smell was pretty good! I let it cool in the pan for about 10 minutes, then carefully turned it out onto a wire rack to cool completely. This part is crucial. If you cut into it too soon, it can be gummy. Patience, my friend, patience!
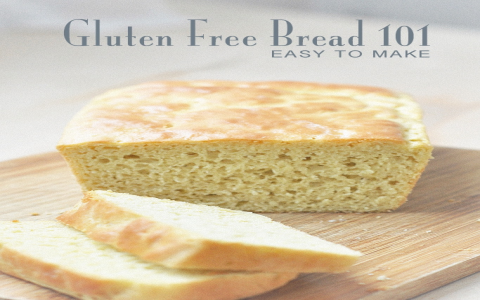
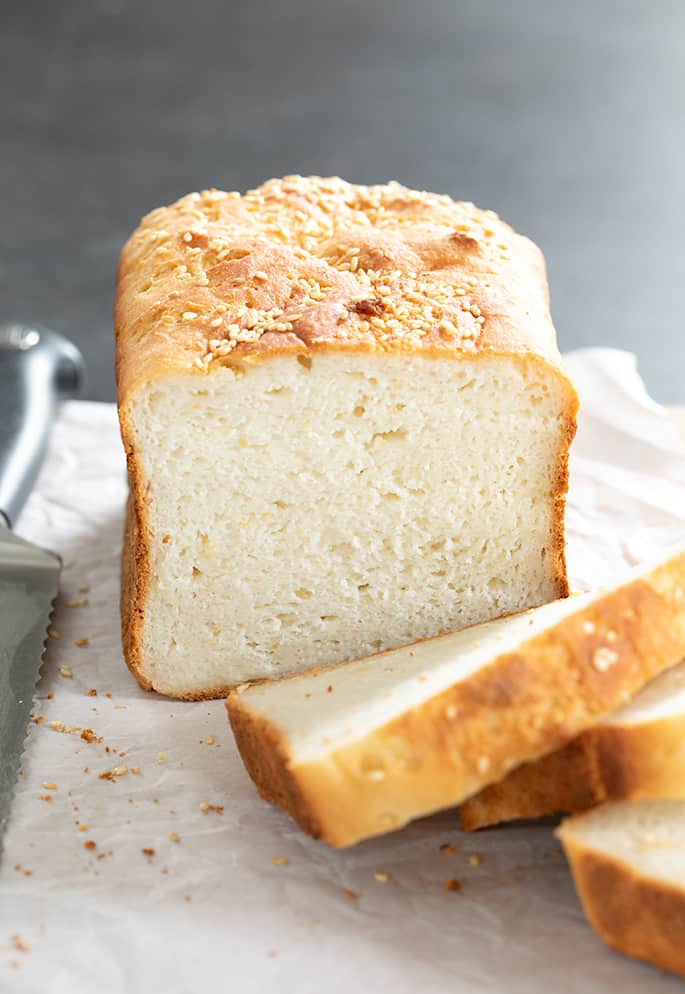
Once it was cool (okay, maybe just warm, I’m not THAT patient), I sliced it up. And you know what? It was pretty darn good! The texture was soft, not too dense, and it held together really well. Made a great sandwich the next day.
So there you have it. My little adventure in making quick and easy gluten-free bread. Definitely a recipe I’ll be using again. It’s not quite like the real wheaty stuff, but it’s a solid contender and so much better than going without!