Getting Started with Gluten Free Cheez Its
Okay, so I decided to tackle making some gluten-free Cheez-Its myself the other day. Been missing that cheesy crunch, you know? First thing, had to get all the stuff together.
Mixing Up the Dough
I grabbed my go-to gluten-free all-purpose flour blend – the one with xanthan gum already in it, makes life easier. Dumped that in a bowl. Then came the cheese, obviously. Used a good amount of sharp cheddar, finely shredded. Has to be sharp for that real Cheez-It kick. Threw in some salt, a pinch of paprika for color, and maybe a tiny bit of garlic powder, just ’cause.
Next was the fat. Cold butter, cut into small cubes. Got my hands in there, or sometimes I use a pastry blender if I’m feeling lazy, and worked the butter into the flour mix until it looked kinda like coarse meal. You don’t want big chunks left.
Then, a little bit of cold water. Added it slowly, just a tablespoon at a time, mixing until the dough just started to come together. Gluten-free dough can be tricky, easy to get it too wet or too dry. This time it felt pretty good, maybe a little sticky, but held together when I squeezed it.
Wrapped the dough ball in plastic wrap and flattened it into a disk. Stuck it in the fridge for about 30 minutes. Gotta let it chill, helps make it easier to roll out later, stops it sticking everywhere hopefully.
Rolling and Cutting
After chilling, I put the dough between two sheets of parchment paper. This is almost essential with gluten-free stuff. Tried rolling it out thin. Aimed for maybe 1/8 inch thick? You want them crispy. Took a bit of effort to get it even.
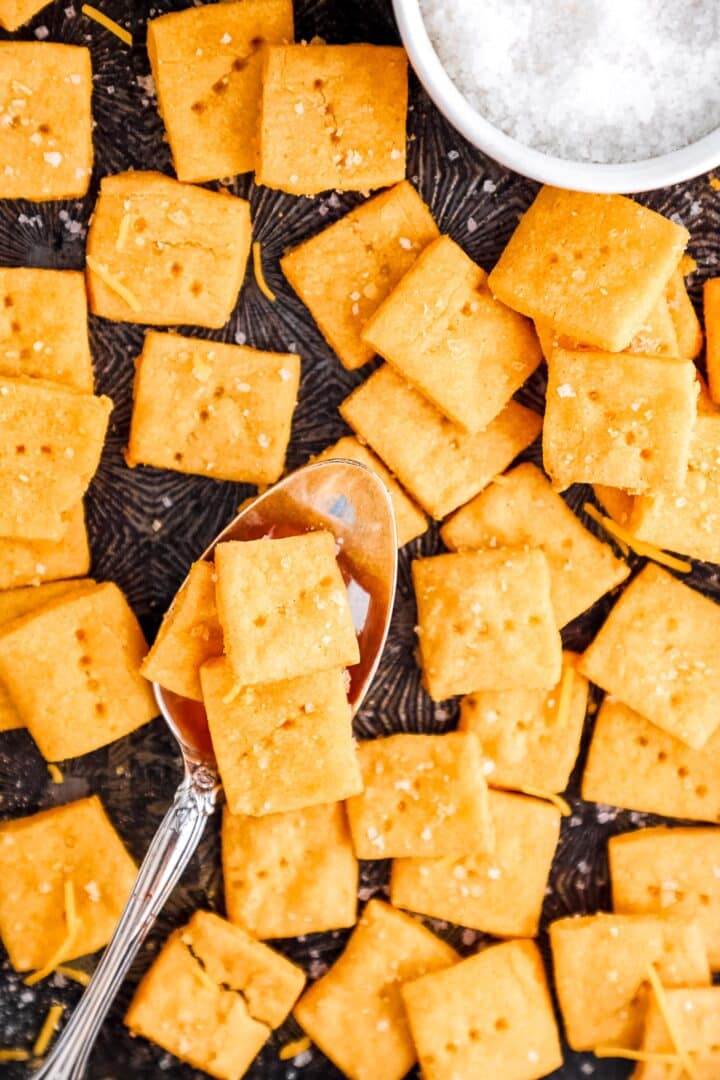
Peeled off the top parchment. Then I used a pizza cutter – works great for this – to cut the dough into little squares. About one inch by one inch, trying to make them look like the real deal. It wasn’t perfect, but hey, homemade charm, right?
And the little hole in the middle! Used a skewer or the end of a chopstick to poke a hole in the center of each square. Tedious, but necessary for the look.
Baking Time
Carefully slid the bottom parchment paper with all the little squares onto a baking sheet. Brushed them lightly with a tiny bit of water or melted butter, then sprinkled some coarse salt on top. Gotta have that salty finish.
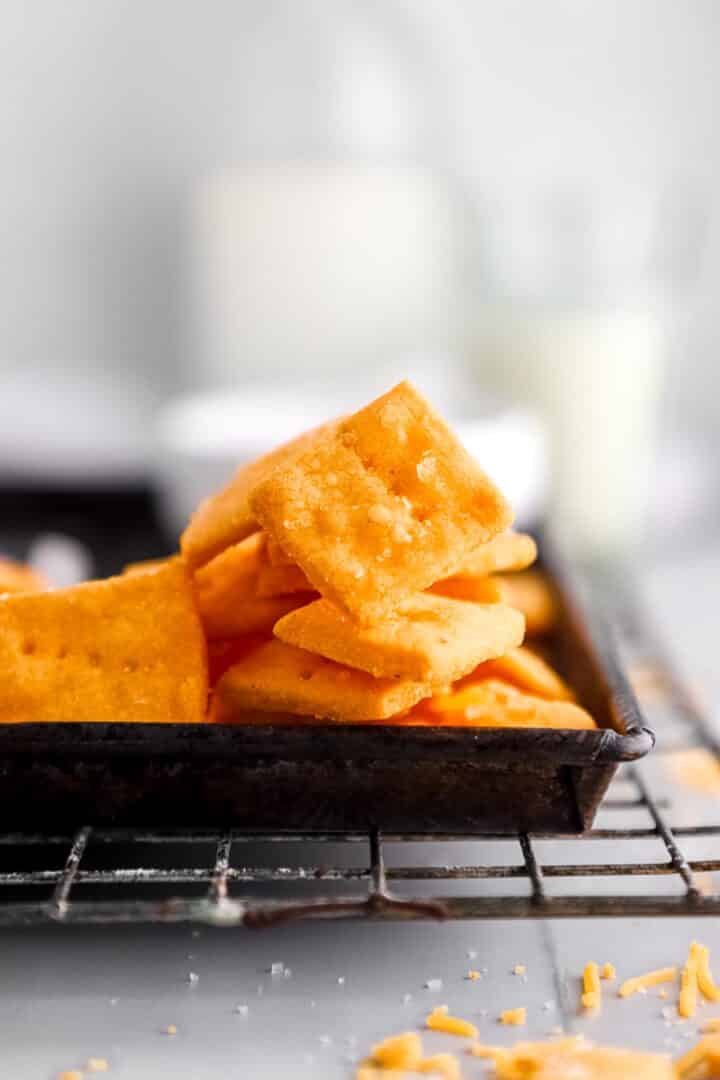
Into the oven they went. Had it preheated to around 375°F (about 190°C). Now, you gotta watch these things like a hawk. Gluten-free stuff can burn fast. Baked them for maybe 12-15 minutes? Pulled them out when the edges were golden brown and they looked crispy.
Let them cool completely on the baking sheet for a few minutes, then moved them to a wire rack to finish cooling. They crisp up more as they cool down.
The Result
And there they were. My own batch of gluten-free cheesy crackers. They weren’t perfectly uniform like the store-bought ones, but they had that cheesy flavor and a decent crunch. Definitely satisfied the craving. Pretty simple process, really, just need a bit of patience with the rolling and cutting.